Posted on 17 Comments

Battery Monitoring for tinkerBOY Controller V3

This tutorial is covers the steps on how to enable battery monitoring for the tinkerBOY Controller v3. Make sure your v3 is plugged in or connected to your Raspberry Pi before setting up the Battery Monitoring service.

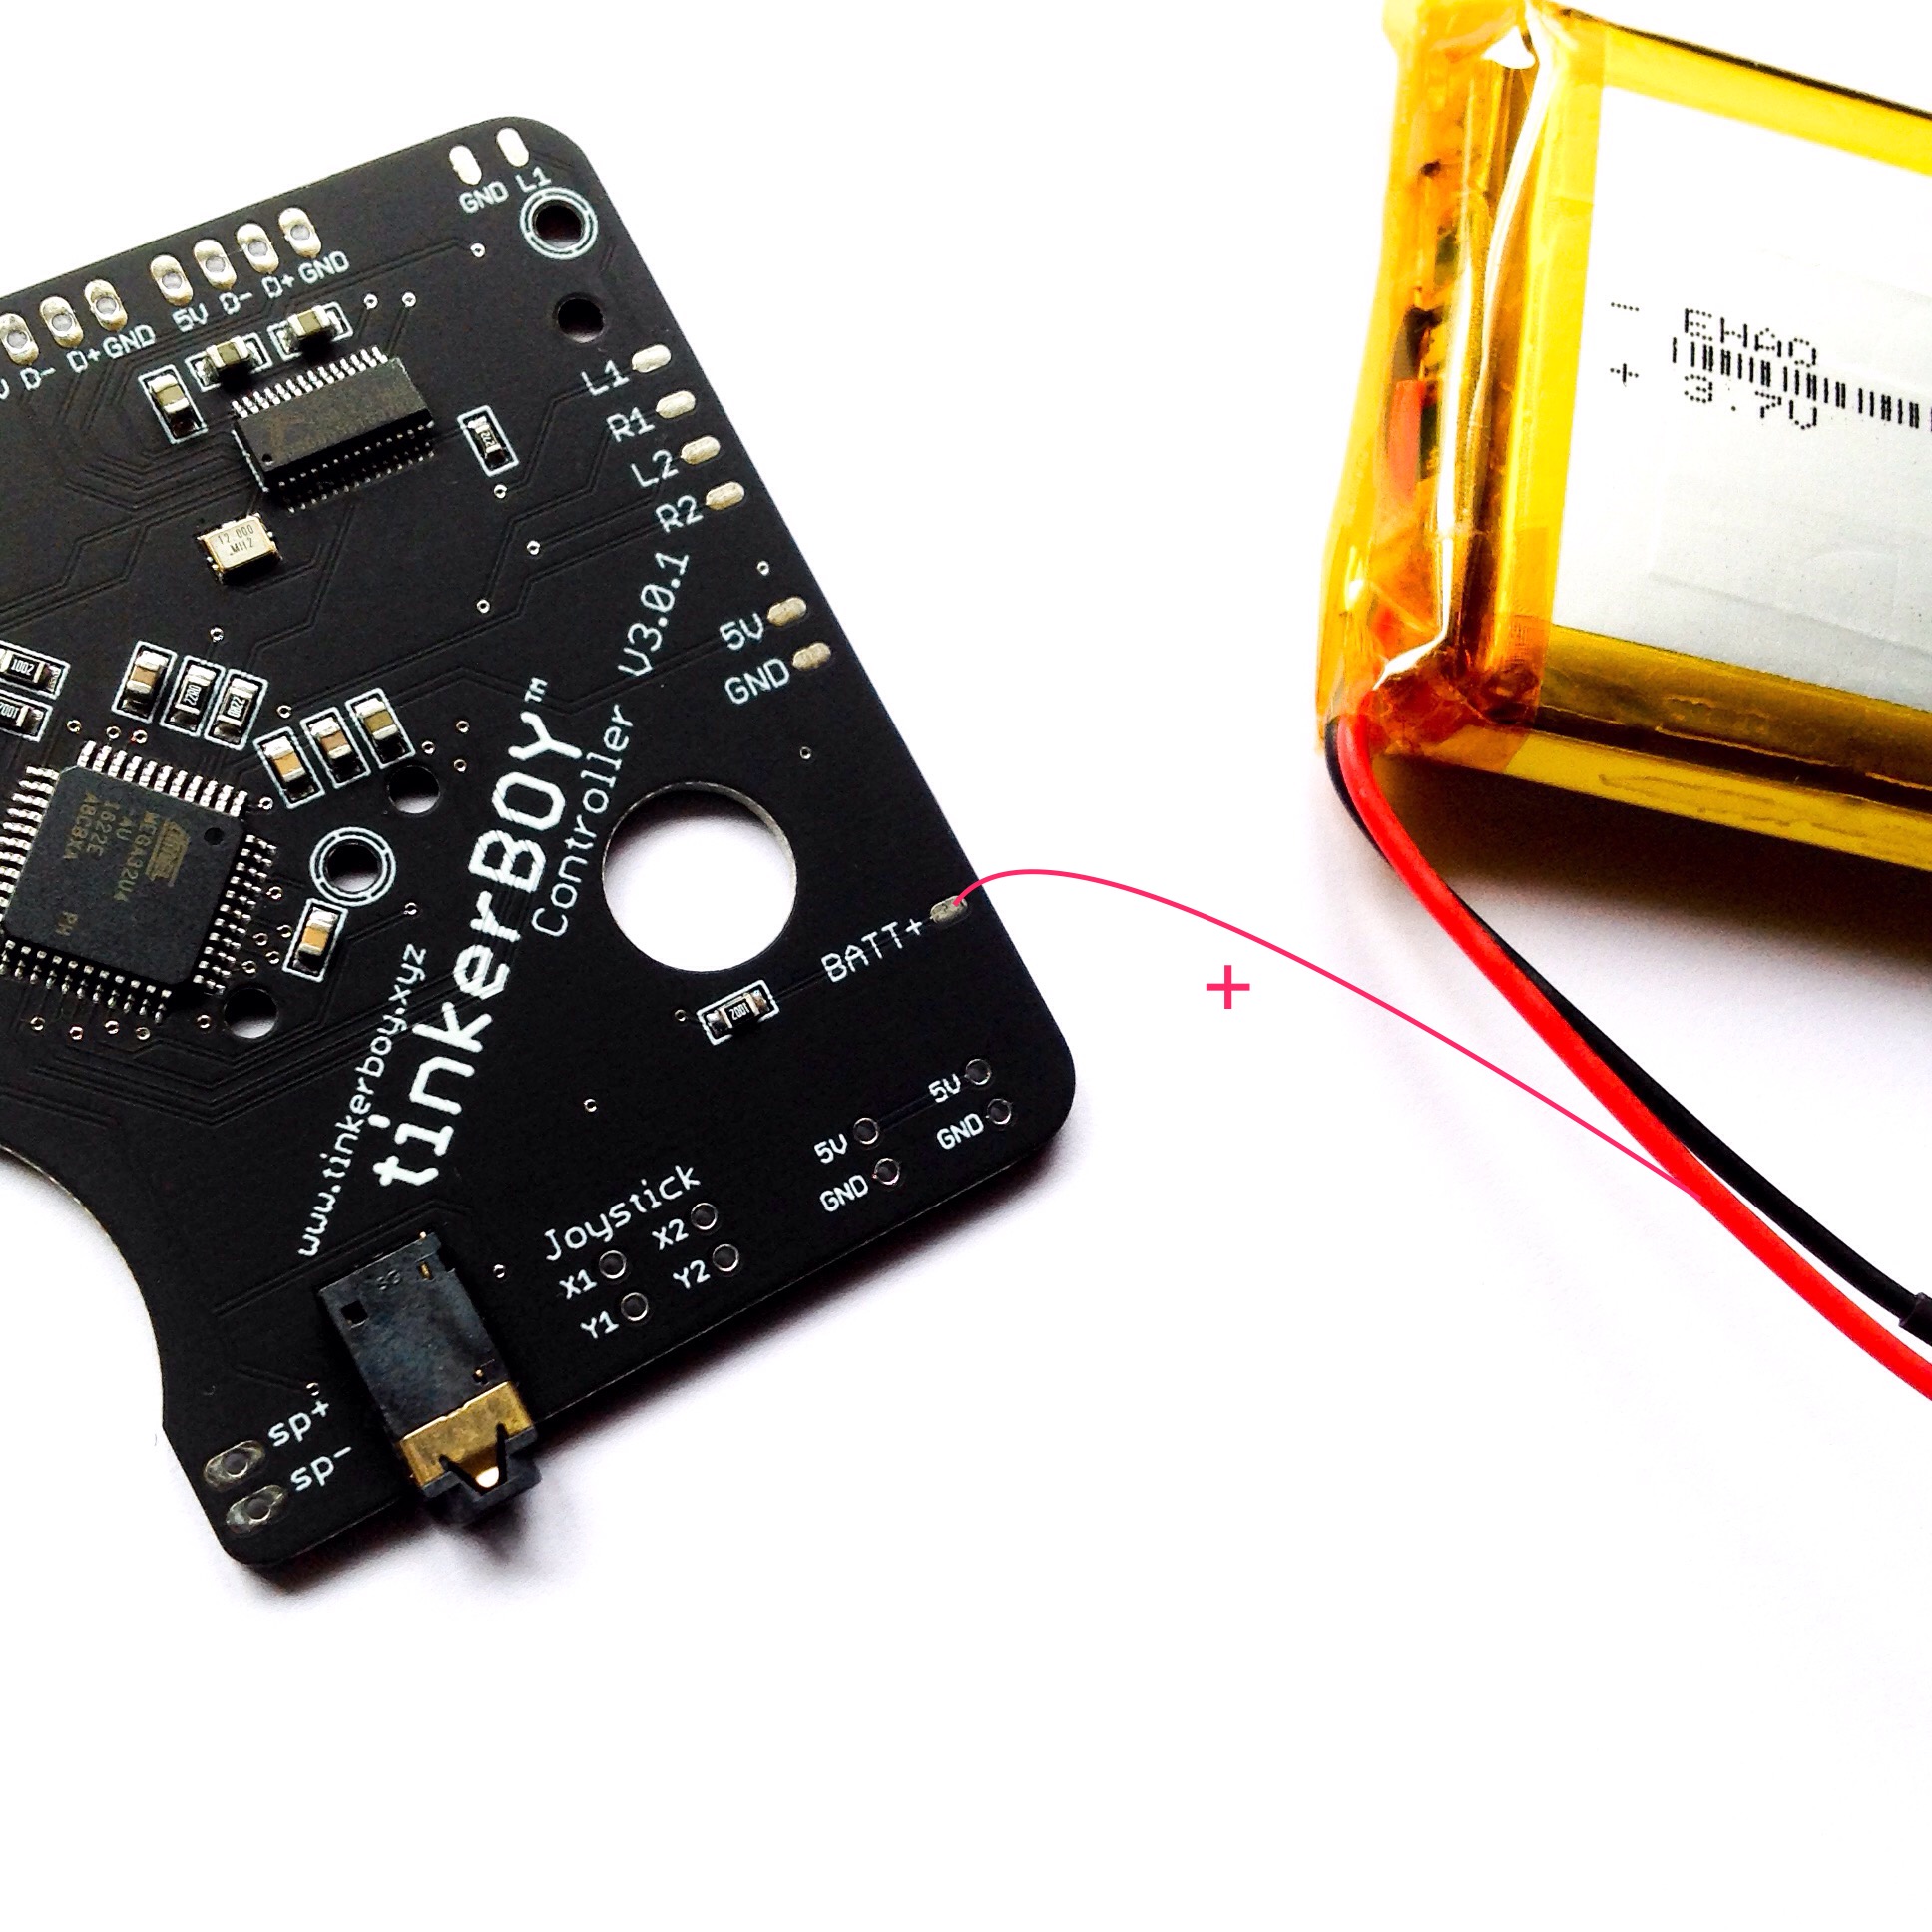
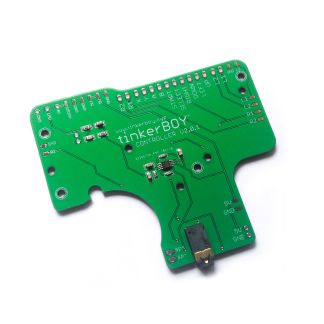
Step 1. BATT+ to battery’s positive wire.

Solder a wire from the BATT+ pin on the v3 to the positive wire(red) of the battery.

Step 2. Setup the battery monitoring script.

Login to your Pi via SSH and type the following command:

wget -O - https://www.tinkerboy.xyz/setup.php -q | bash -s bm

It will install the necessary software for the battery monitoring service. It will also upgrade your v3’s firmware if needed.

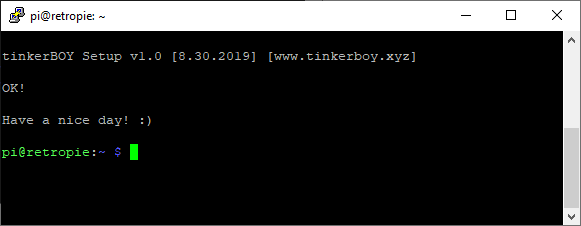
When it’s done you should get an “OK!” message if it’s successful. Otherwise, let me know when you get an error.

Step 3. Enable the Battery Monitoring service.

Type or copy paste the following commands:

sudo systemctl daemon-reload
sudo systemctl enable battmon.service
sudo systemctl start battmon.service

Issuing these commands will immediately start the Battery Monitoring service.

That’s it. Have a nice day! 🙂

Posted on 24 Comments

tinkerBOY DPI Adapter: Gettting Started Guide

Method 1: Download my pre-built RetroPie image.

Method 2: Manual

Edit the config.txt and copy/paste the following lines:

dtoverlay=dpi18_666
overscan_left=0
overscan_right=0
overscan_top=0
overscan_bottom=0
enable_dpi_lcd=1
display_default_lcd=1
dpi_group=2
dpi_mode=87
framebuffer_width=320
framebuffer_height=240
dpi_output_format=24598
hdmi_timings=320 1 20 30 38 240 1 4 3 15 0 0 0 60 0 9600000 1

Save the file.

The tinkerBOY DPI Adapter v1.0 uses a custom overlay for the DPI interface. Download this file, unzip and place the dpi18_666.dtbo file inside the overlays folder in the boot partition of the sdcard where the config.txt is also located.

That’s it for the settings.

Guides for v1.0/v1.1:

NOTE: DO NOT turn the power on without connecting the LCD (LQ035NC111).

Posted on Leave a comment

RetroPie: Testing The USB Controller/Joystick Via The Command Line or Terminal

Let’s start by connecting to your Raspberry Pi/RetroPie either by SSH or just plug a keyboard and hit F4 to go directly to the Terminal.

Check if your USB controller is detected by:

lsusb

Mine is “Arduino SA Leonardo”.

Next, enter the following command to test the inputs:

jstest /dev/input/js0

Now press each of the configured button inputs and you should get a response.

Posted on 4 Comments

RetroPie/Raspberry Pi: How to Configure a USB Sound Device

Step 1

Plug in your usb sound adapter/device into the Raspberry Pi’s usb port and let’s make sure it’s detected. Enter the following command.

pi@retropie:~ $ lsusb

You should get something like

Bus 001 Device 005: ID 0079:0011 DragonRise Inc. Gamepad
Bus 001 Device 004: ID 7392:7711 Edimax Technology Co., Ltd EW-7711UTn nLite Wireless Adapter [Ralink RT2870]
Bus 001 Device 003: ID 08bb:2704 Texas Instruments Audio Codec
Bus 001 Device 002: ID 1a40:0101 Terminus Technology Inc. 4-Port HUB
Bus 001 Device 001: ID 1d6b:0002 Linux Foundation 2.0 root hub
pi@retropie:~ $

Mine is detected as “Bus 001 Device 003: ID 08bb:2704 Texas Instruments Audio Codec“.

Step 2

Type and enter the following command to check the list of sound device being used by the system and take note of the order number.

pi@retropie:~ $ cat /proc/asound/modules

You should get something like

0 snd_bcm2835
1 snd_usb_audio
pi@retropie:~ $

My usb sound adapter is on order number 1.

Step 3

Let’s change the default sound to “1 snd_usb_audio” by editing

pi@retropie:~ $ sudo nano /etc/asound.conf

Paste the following

pcm.!default {
type hw
card 1
}
ctl.!default {
type hw
card 1
}

Reboot and it should use the usb sound as the default.

Sound Test

Enter the following command to test the left and right audio channel:

speaker-test -c2 -twav -l7

You should hear a sound coming from the left and right channel.

=> Pinout Diagrams for the PCM2704 and 3D Sound(COB) USB Sound Card Adapters.

You can also use another method at RetroPie: Configure USB Audio As Primary Sound Device.