

Description
(UPDATE!): tinkerBOY DPI Adapter updated v1.0 to v1.1 to fix the mislabeled data pins and re-designed the board to improve and optimize it. Both v1.0 and v1.1 are functionally the same.
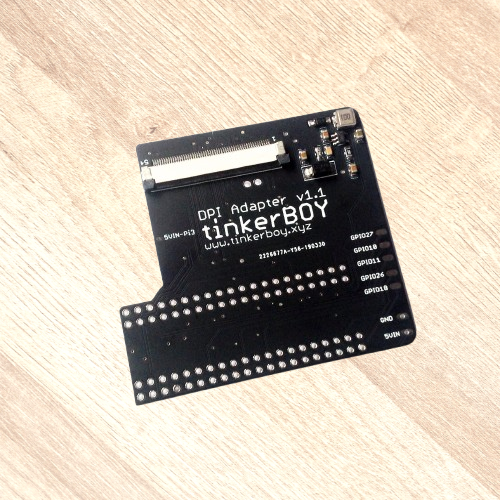
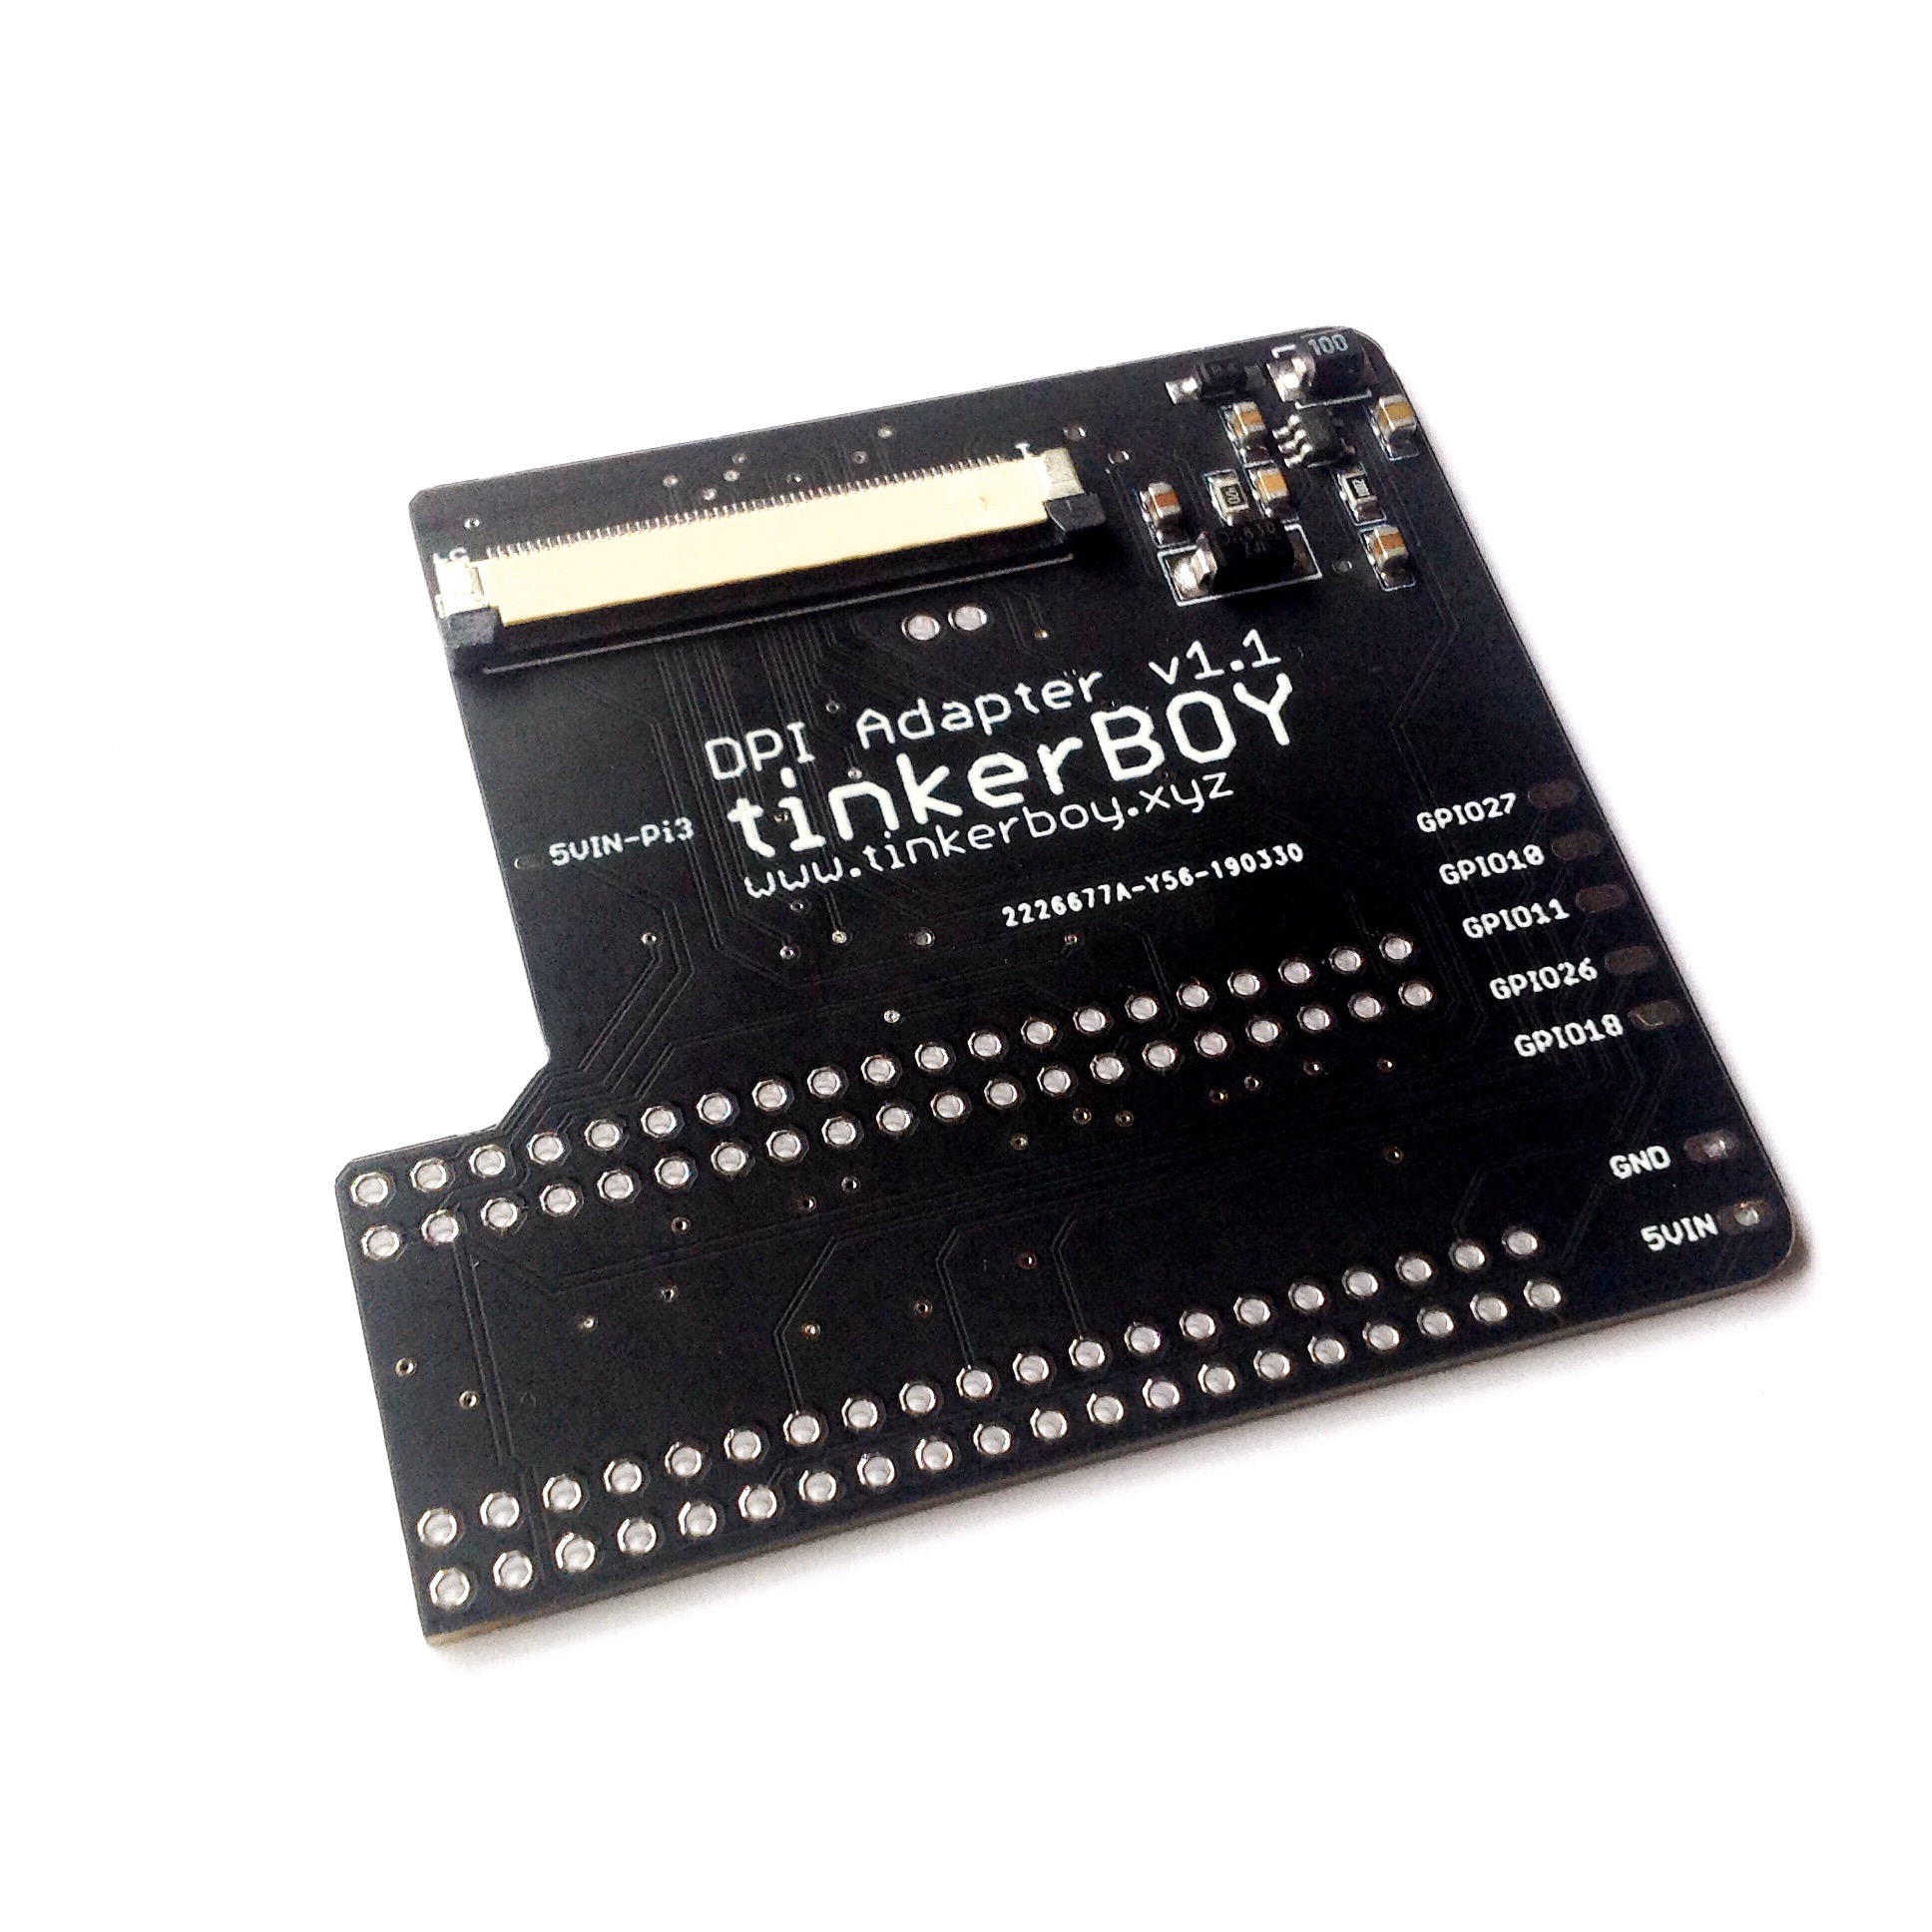
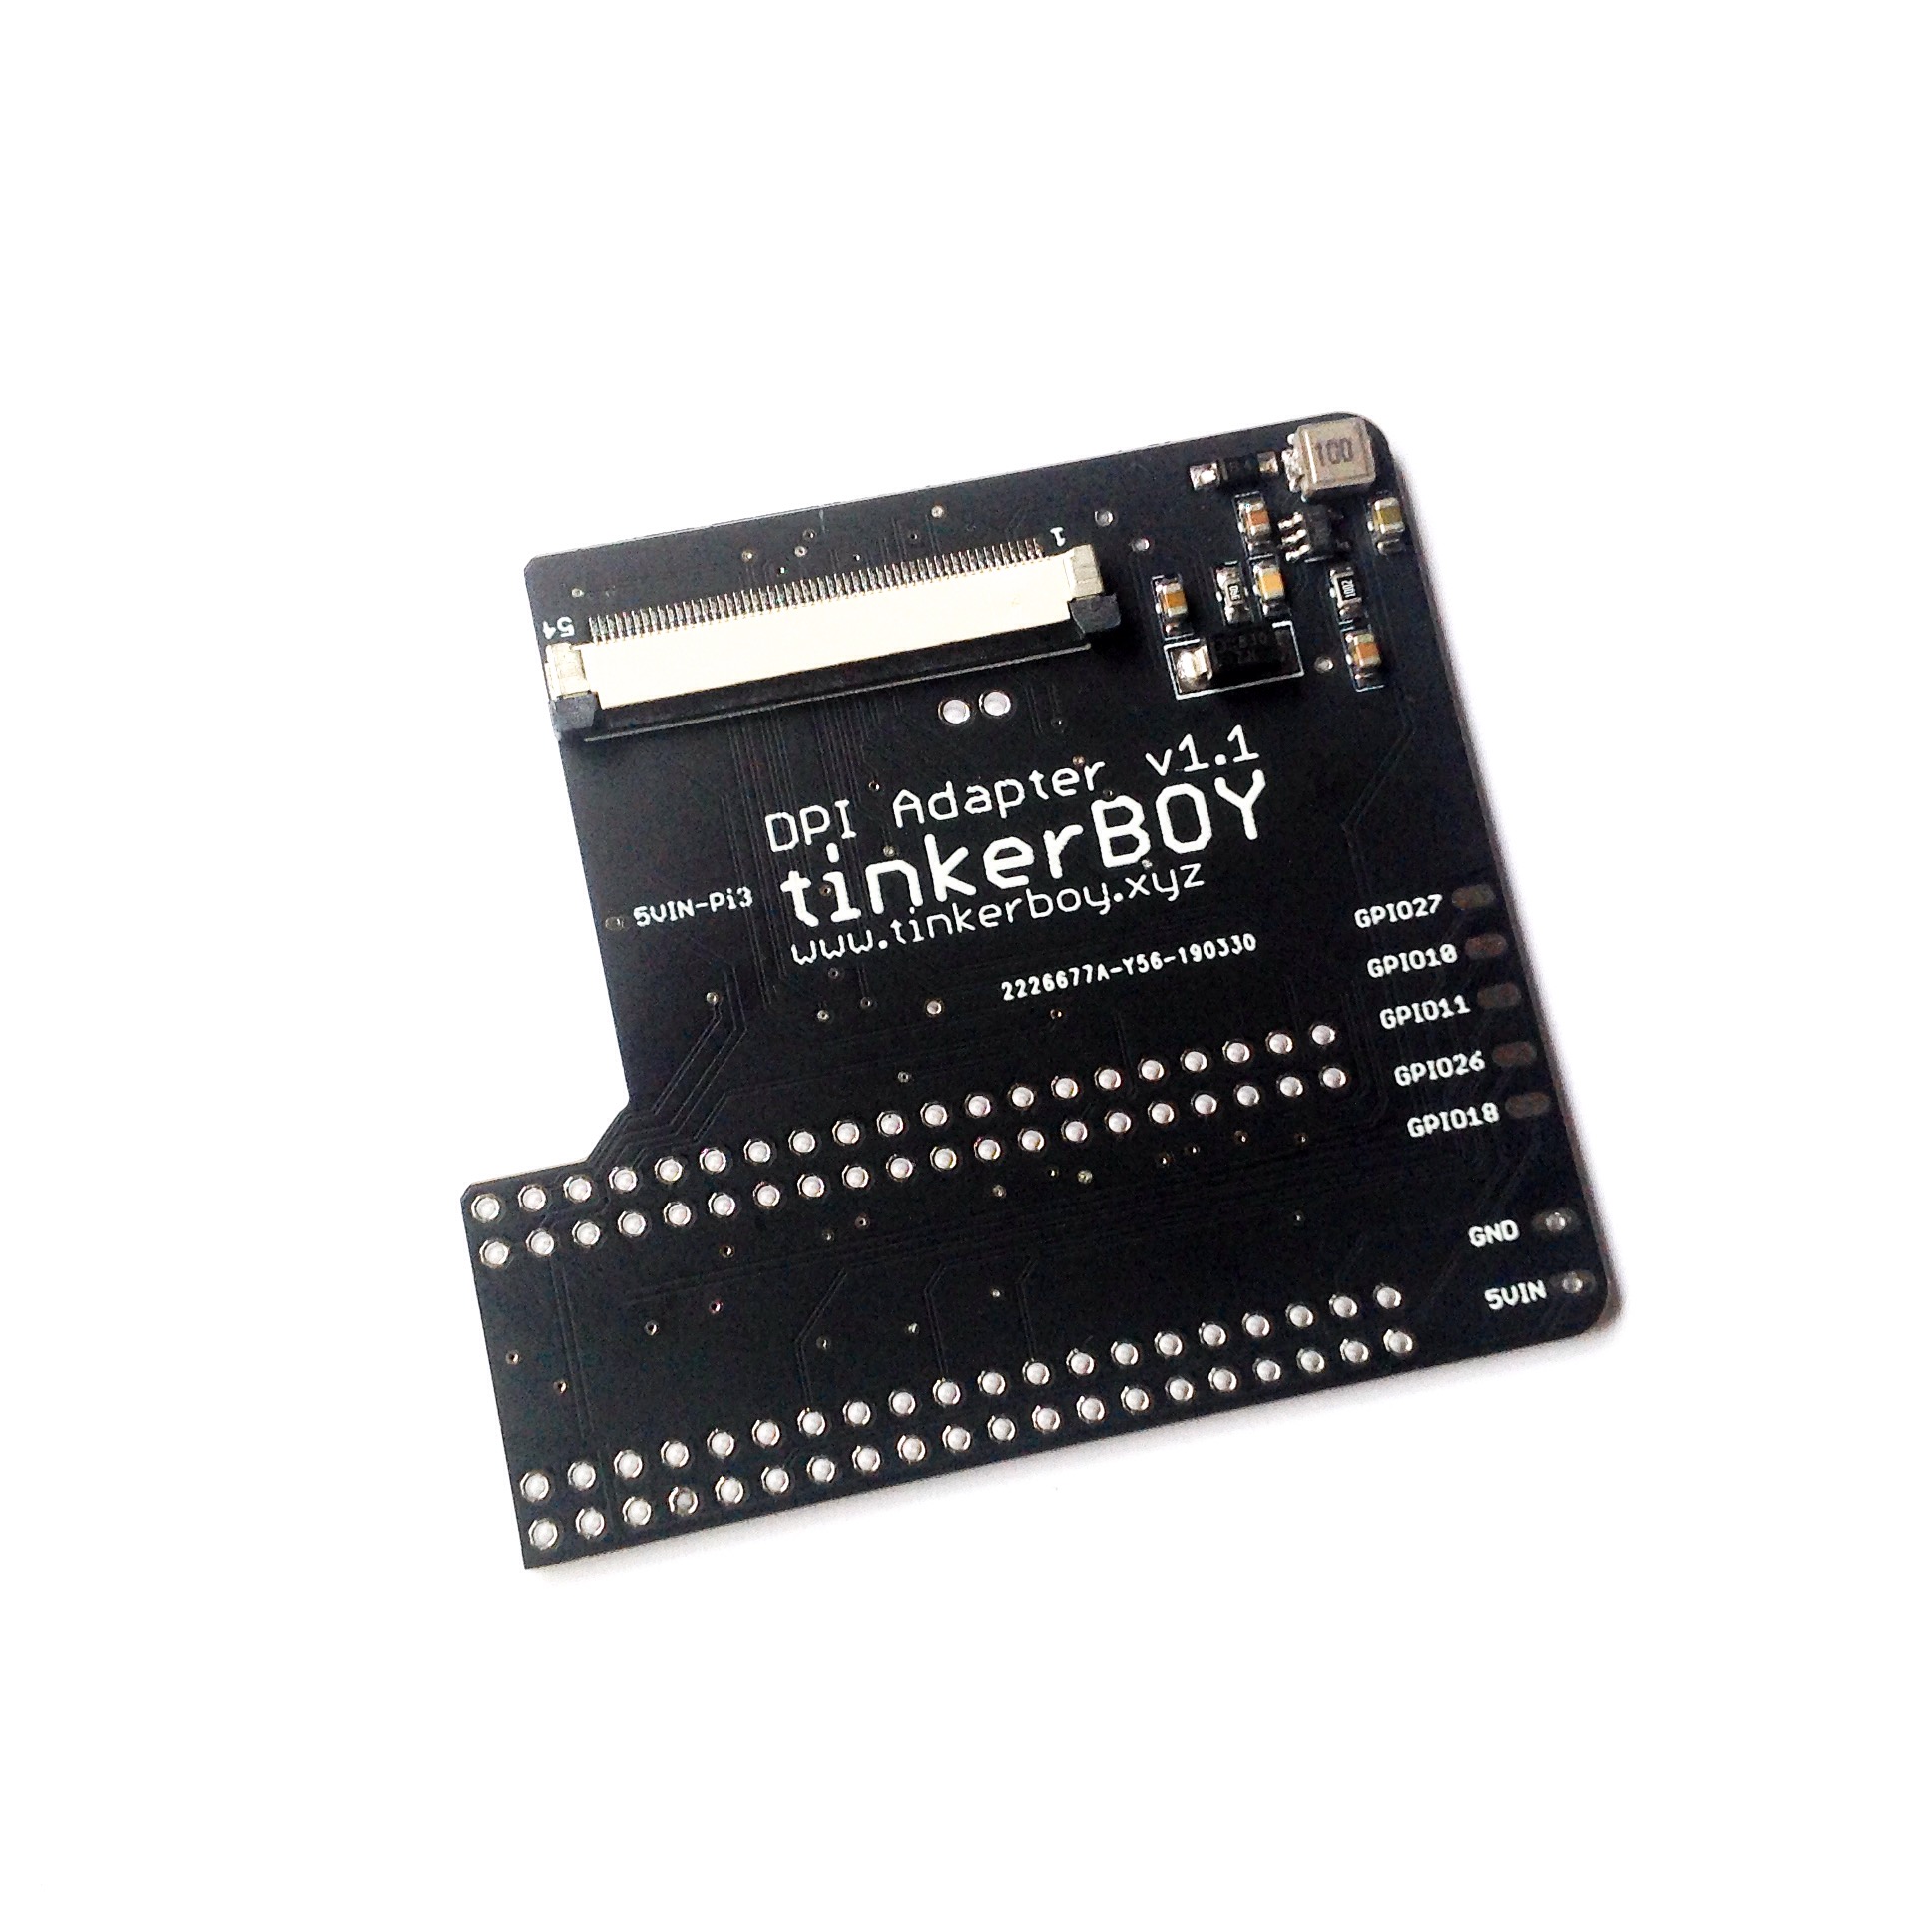
The tinkerBOY DPI adapter v1.0 is designed to work with the 3.5″ LQ035NC111 LCD via the the Raspberry Pi’s DPI interface (Display Parallel Interface). It is compatible with Raspberry Pi Zero and 3.
Features:
- 18-bit RGB via DPI.
- Five (5) free GPIO pins (GPIO27, GPIO10, GPIO11, GPIO26, GPIO18).
- PWM Brightness control.
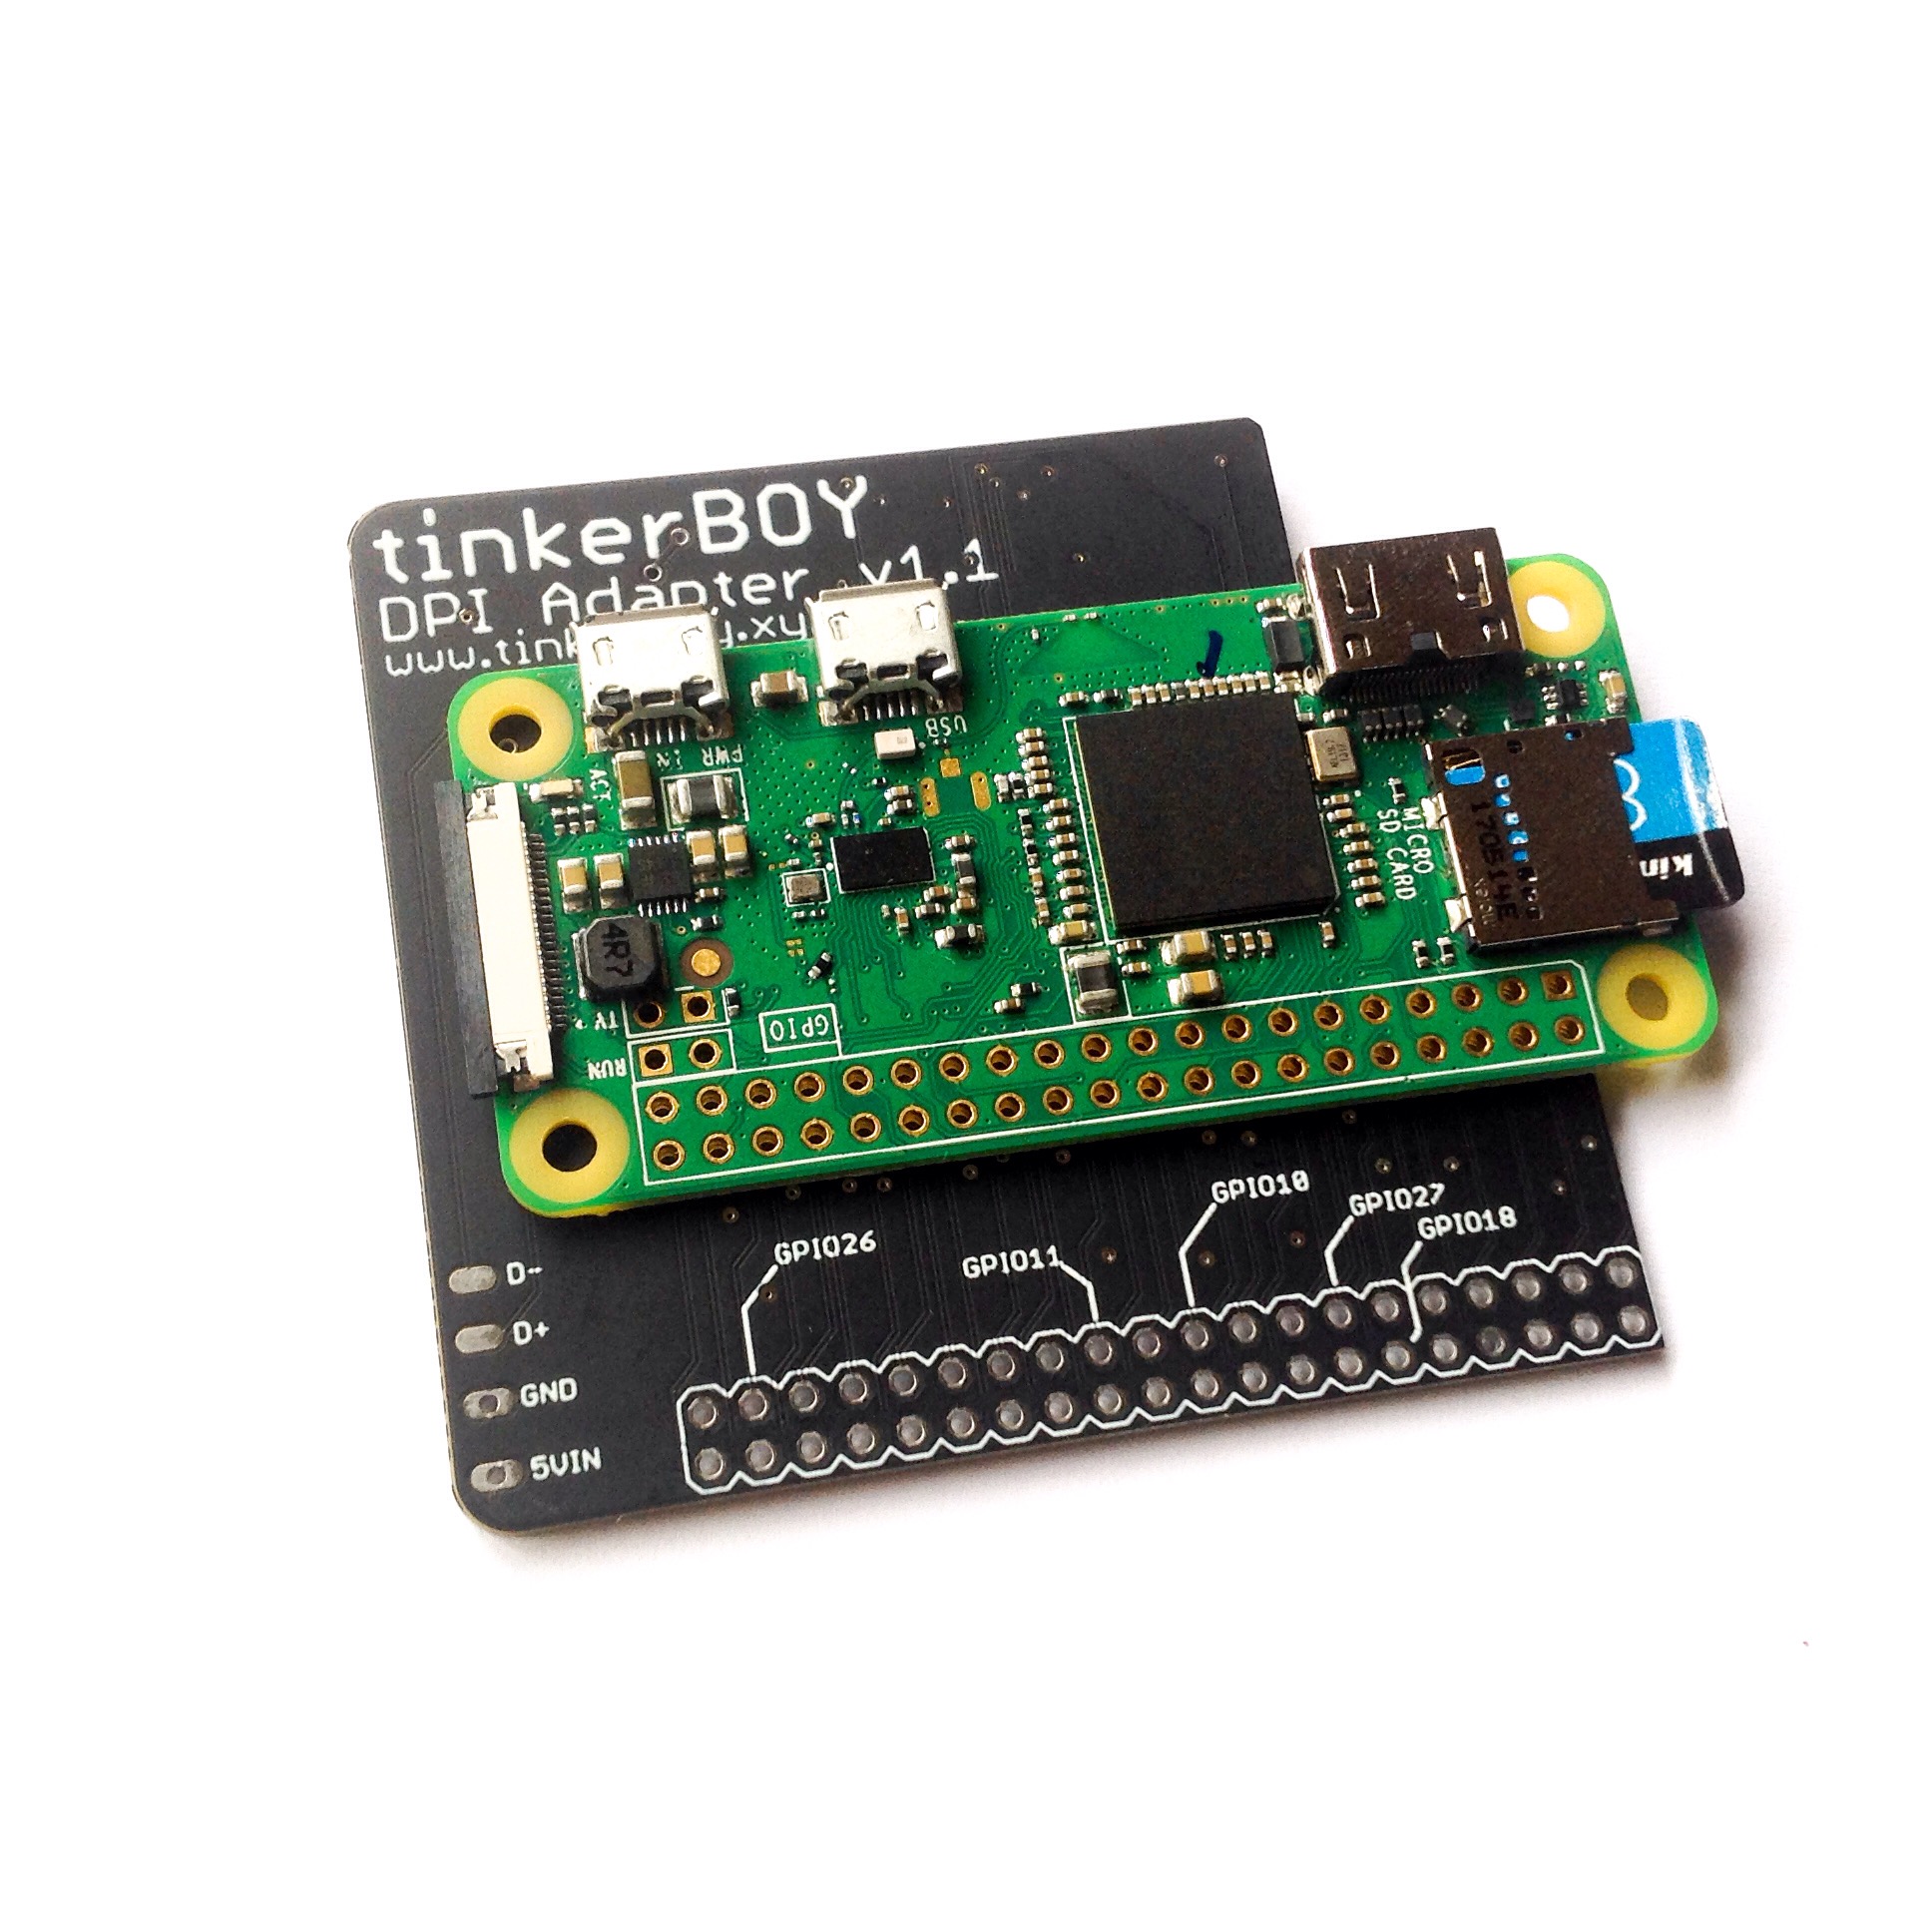
- Compatible with both Raspberry Pi Zero and 3.
- Low-power consumption.
The 3.5″ LQ035NC111 LCD is widely available and can be purchased on eBAy and AliExpress.
NOTE: DO NOT turn the power on without connecting the LCD (LQ035NC111).
Guides
- tinkerBOY DPI Adapter v1.0: Gettting Started Guide – Also works with the new v1.1
- 3D Bracket for the 3.5″ LQ035NC111 LCD
- tinkerBoy DPI Adapter v1.0 Dimensions
*** All adapters are fully tested prior to sale and shipping.
Credits: I want to say thanks to Robert Ely for his very informative post about DPI.
Additional Parts You May Need:
-
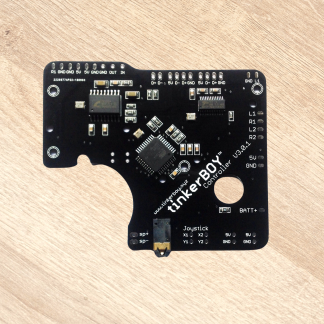
tinkerBOY Controller V3.0 – Game Boy Zero AIO PCB Controller
Select options This product has multiple variants. The options may be chosen on the product page -
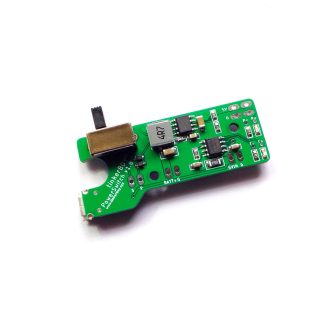
tinkerBOY PowerSwitch – 5V Boost and Charge Module with Safe Shutdown
Select options This product has multiple variants. The options may be chosen on the product page -
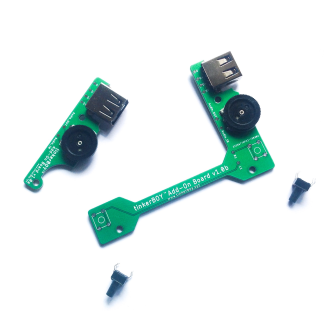
tinkerBOY Add-On Board – with Pre-soldered USB Type A Port and 3-Pin Volume Wheel, Back Buttons
Select options This product has multiple variants. The options may be chosen on the product page -
tinkerBOY Speaker 4Ω2W / 8Ω1W
Select options This product has multiple variants. The options may be chosen on the product page -
B103 Volume Wheel 10K Ohm 3Pin
Add to cart
jackobee –
Finally got time to solder the pi zero to it. Works great!
Dean English –
The board looks good, however the directions caused me to damage the board. You are told to pass the GPIO pins through this board and solder to the Pi Zero. After that cut off the pins by the black plastic, then remove the black plastic bit and solder the remaining pins on the DPI board. There was not way to remove the black plastic part. Spent about 2 hours trying and finally damaged the board. Then there was no way to desolder the boards from eachother. Luckily (not sure how) but my Pi Zero still works but has half the dpi board stuck to it as I was able to cut some of it off. This board seems nice, but I spent $32.00 and didn’t get to use it. Be careful following the directions!
tinkerBOY –
There’s a simpler method without using header pins.
kurry –
Works great! Much better than my composite build.
Adrian –
Works perfect with Raspberry Pi 3 A+!
Alexander –
I’m in the same boat with Dean English. Ruined my board while trying to remove the plastic part with the pins… Dear tinker boy please respect the fact that most of us enthusiasts here are complete noobs by adding more detailed instructions or warnings in the guides that the techniques are advanced. Next time i’ll try the simpler method you recommended above. And thanks for this amazing board — i’m looking forward to finish my project when I get the new one delivered.
tinkerBOY –
Thank you for the feedback! I will try to improve the guides. I admit the old method is a bit hard for me too. I think realized that after my 4th soldering of the dpi adapter so I tried the new method and it’s so much more easier.
Hag –
If you want a better and faster display for your gbz then get this period. 🙂
Sebastian –
Received the board and can’t wait to install it. The thing is, I just got a pi 4. I’m wondering if this is compatible with it as well.