/*
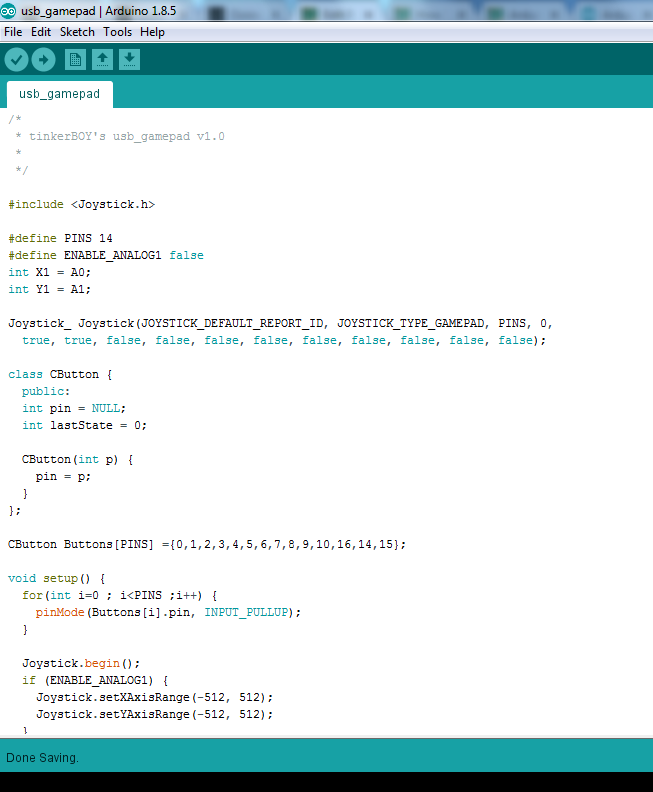
* tinkerBOY's usb_gamepad v1.0
*
*/
#include <Joystick.h>
#define PINS 14
#define ENABLE_ANALOG1 false
int X1 = A0;
int Y1 = A1;
Joystick_ Joystick(JOYSTICK_DEFAULT_REPORT_ID, JOYSTICK_TYPE_GAMEPAD, PINS, 0,
true, true, false, false, false, false, false, false, false, false, false);
class CButton {
public:
int pin = NULL;
int lastState = 0;
CButton(int p) {
pin = p;
}
};
CButton Buttons[PINS] ={0,1,2,3,4,5,6,7,8,9,10,16,14,15};
void setup() {
for(int i=0 ; i<PINS ;i++) {
pinMode(Buttons[i].pin, INPUT_PULLUP);
}
Joystick.begin();
if (ENABLE_ANALOG1) {
Joystick.setXAxisRange(-512, 512);
Joystick.setYAxisRange(-512, 512);
}
}
void JButtonStates() {
if (ENABLE_ANALOG1) {
Joystick.setXAxis(analogRead(X1) - 512);
Joystick.setYAxis(analogRead(Y1) - 512);
}
for (int i = 0; i < PINS; i++) {
int currentState = !digitalRead(Buttons[i].pin);
if (currentState != Buttons[i].lastState) {
Joystick.setButton(i, currentState);
Buttons[i].lastState = currentState;
}
}
}
void loop() {
JButtonStates();
delay(50);
}
/*
 * tinkerBOY's usb_gamepad v1.0 - 6-Button version
 *
 */

#include <Joystick.h>

#define PINS 16
#define ENABLE_ANALOG1 false
int X1 = A0;
int Y1 = A1;

Joystick_ Joystick(JOYSTICK_DEFAULT_REPORT_ID, JOYSTICK_TYPE_GAMEPAD, PINS, 0,
  true, true, false, false, false, false, false, false, false, false, false);

class CButton {
  public:
  int pin = NULL;
  int lastState = 0;

  CButton(int p) {
    pin = p;
  }
};

CButton Buttons[PINS] ={0,1,2,3,4,5,6,7,8,9,10,16,14,15,20,21};

void setup() {
  for(int i=0 ; i<PINS ;i++) {
    pinMode(Buttons[i].pin, INPUT_PULLUP);
  }

  Joystick.begin();
  if (ENABLE_ANALOG1) {
    Joystick.setXAxisRange(-512, 512);
    Joystick.setYAxisRange(-512, 512);
  }
}

void JButtonStates() {
  if (ENABLE_ANALOG1) {
    Joystick.setXAxis(analogRead(X1) - 512);
    Joystick.setYAxis(analogRead(Y1) - 512);
  }

  for (int i = 0; i < PINS; i++) {
    int currentState = !digitalRead(Buttons[i].pin);

    if (currentState != Buttons[i].lastState) {
      Joystick.setButton(i, currentState);
      Buttons[i].lastState = currentState;
    }
  }
}

void loop() {
  JButtonStates();
  delay(50);
}